Windows Users
Cisco Webex Teams Windows 10 Installation
This document is a user’s guide to installing and working the Cisco WebEx Teams application. It includes information on how to configure and utilize the built-in soft phone services. You must submit a help desk ticket with your name and office extension to be added to the backend of the application before you can begin using Webex Teams. You can email your request to the help desk.
If the Cisco WebEx Teams software is not already installed on your laptop, download the application from the following link: https://www.webex.com/downloads.html/

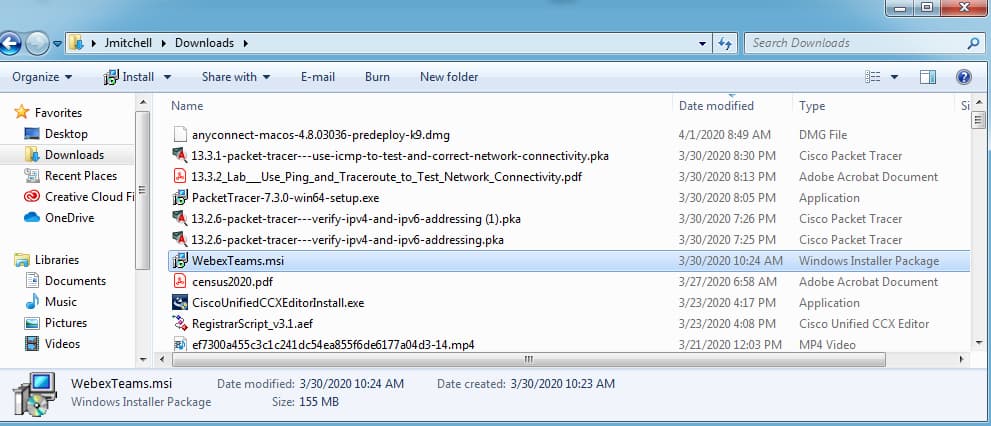
Find the file in your "Downloads" folder. Double click the file to start the install process.
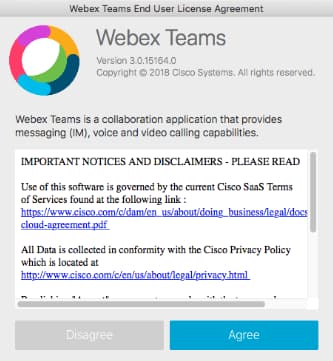
Click agree on the End User License Agreement screen.
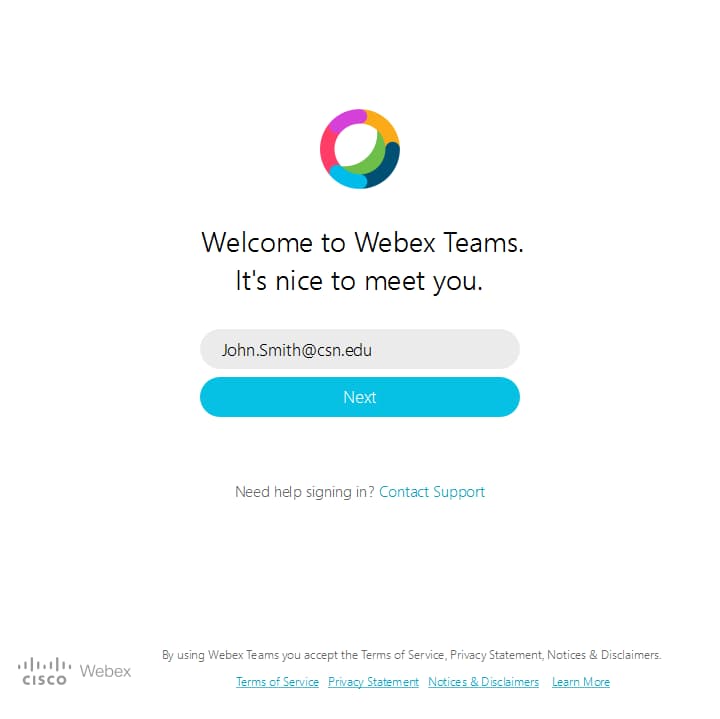
Enter your CSN email address.
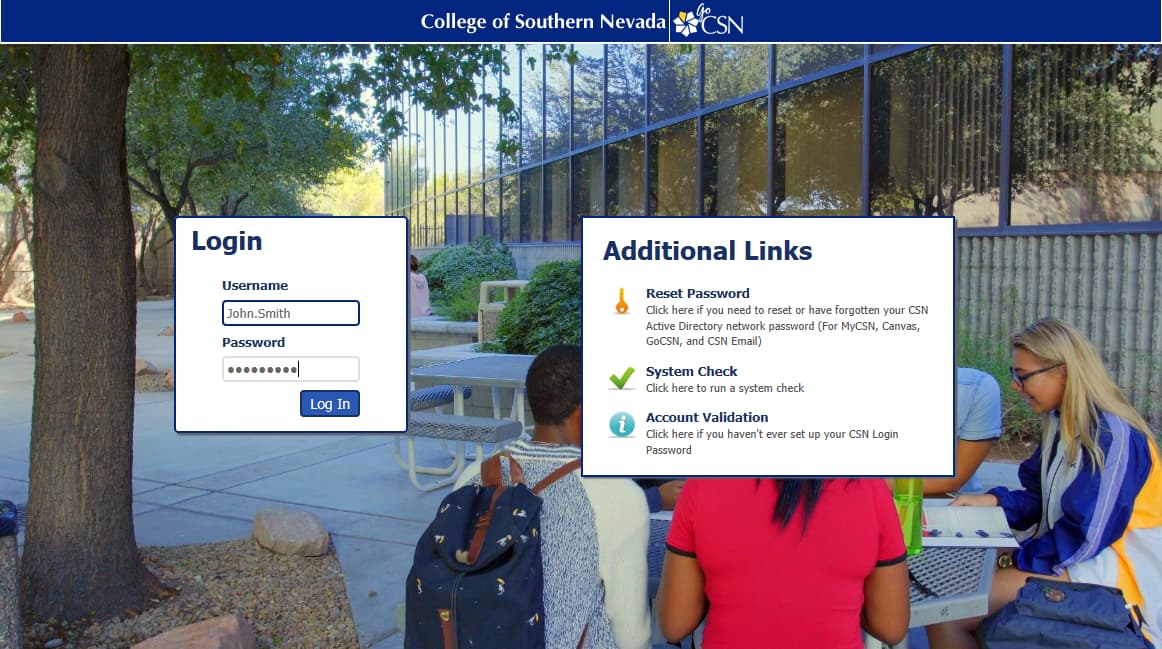
You will be redirected to the GoCSN login page. Enter Your Username: <FirstName.LastName> and Password: <Enter password>.
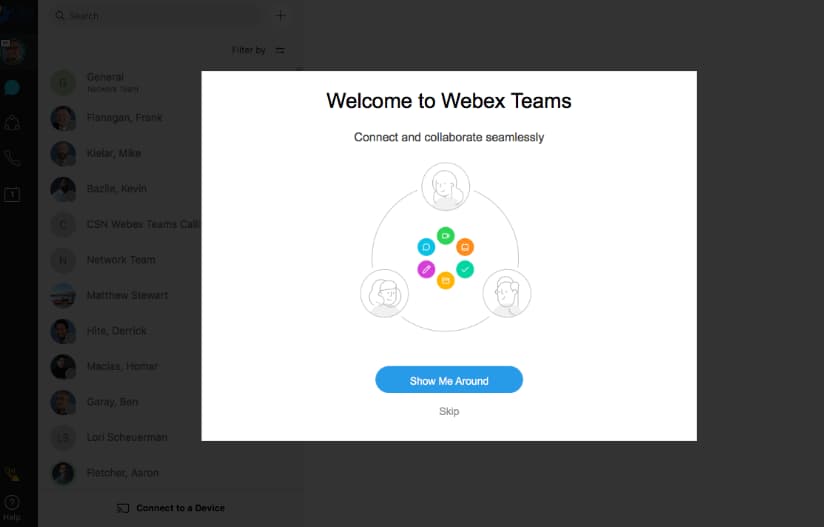
The application client install is complete. The app will open. You can start a basic user tutorial clicking Show Me Around or click Skip here.
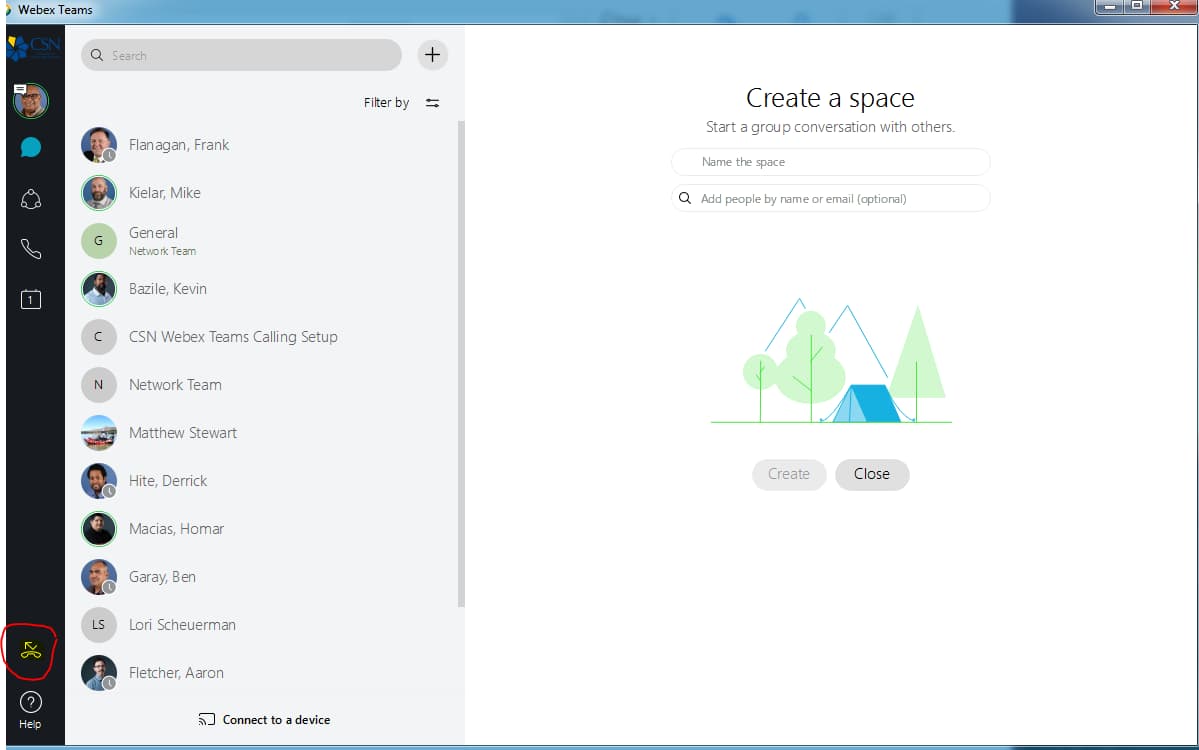
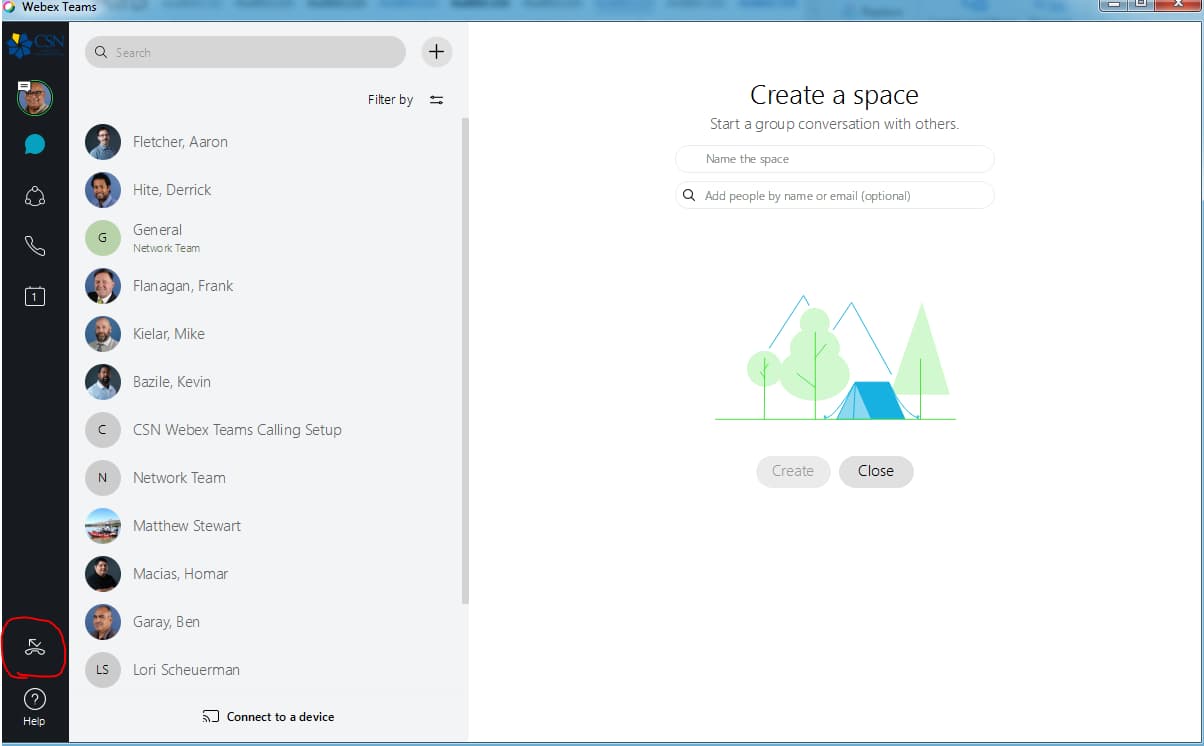
Click the highlighted phone icon to open the call enable feature. Notice the Phone and Forwarding Settings icon is yellow here. (That means your phone services are not yet complete)
A login popup screen will appear.
Enter your CSN credentials Username: FirstName.LastName Password: (AD password). Do not press enter. Scroll down the screen and find the Save button. Click on the Save button.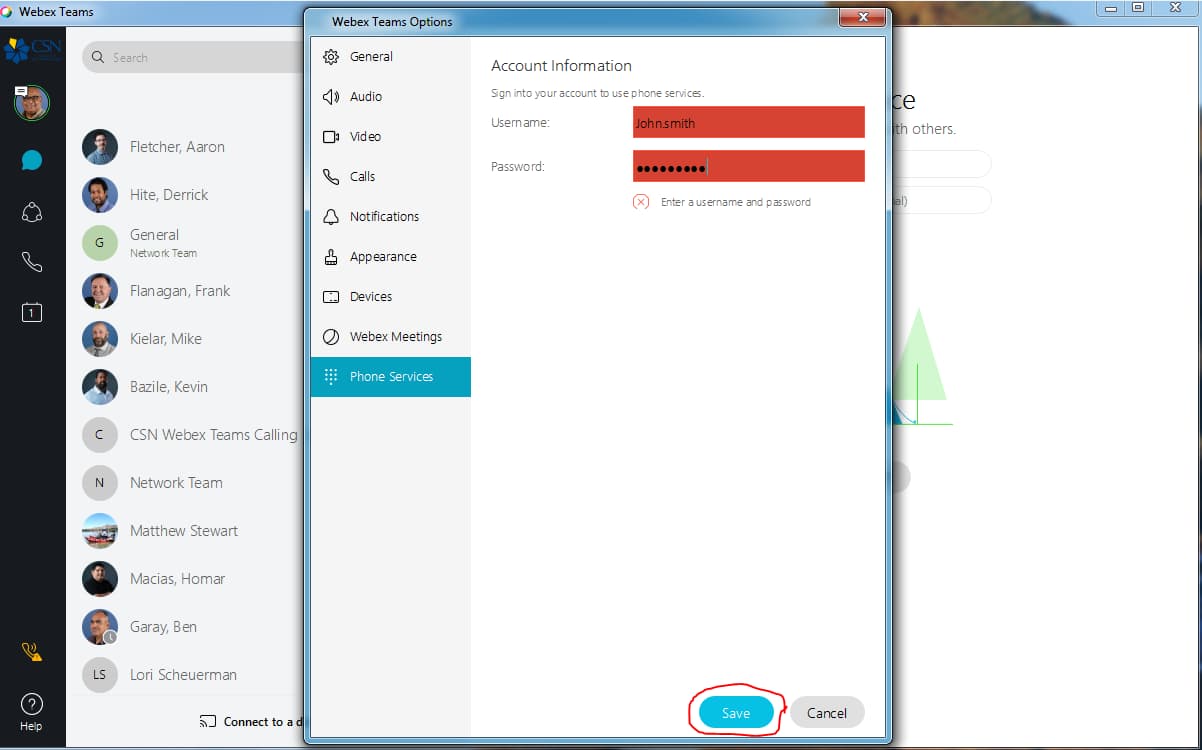
You have now completed your phone services setup and the Phone and Forwarding Settings icon is white.
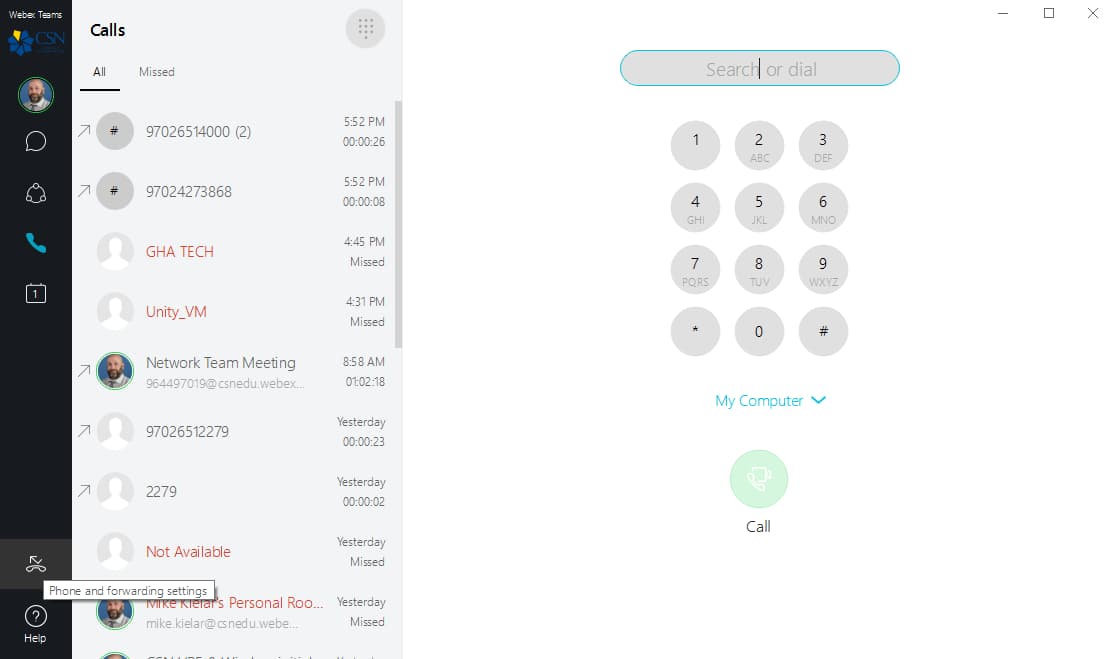
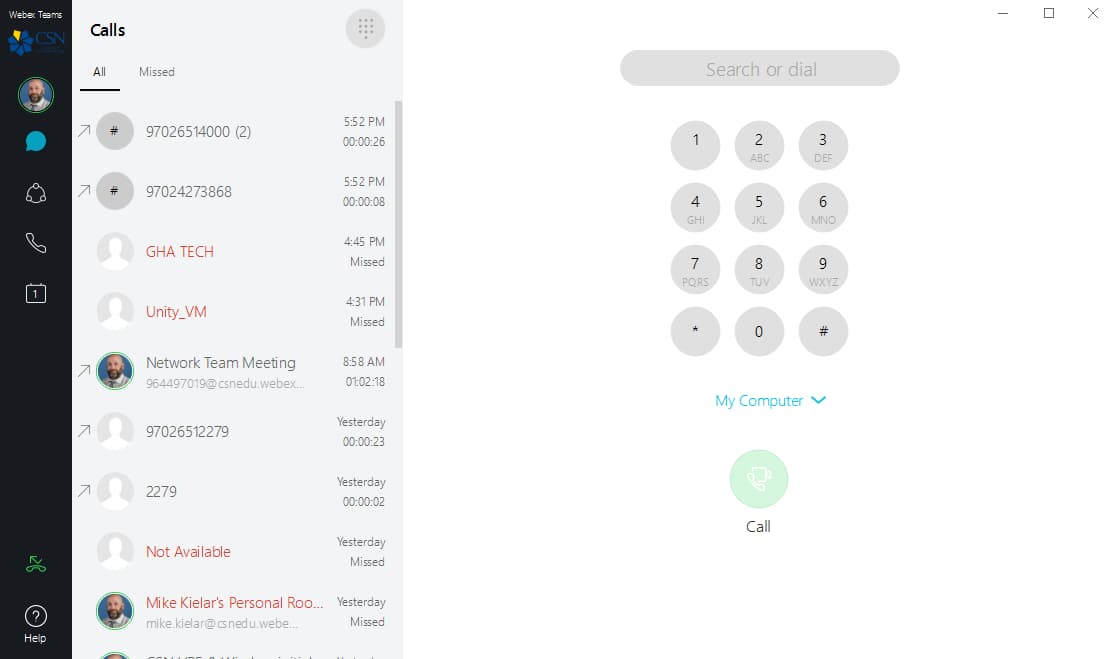
To make a call from the soft phone application click the phone icon circled below. A phone dial pad will open.
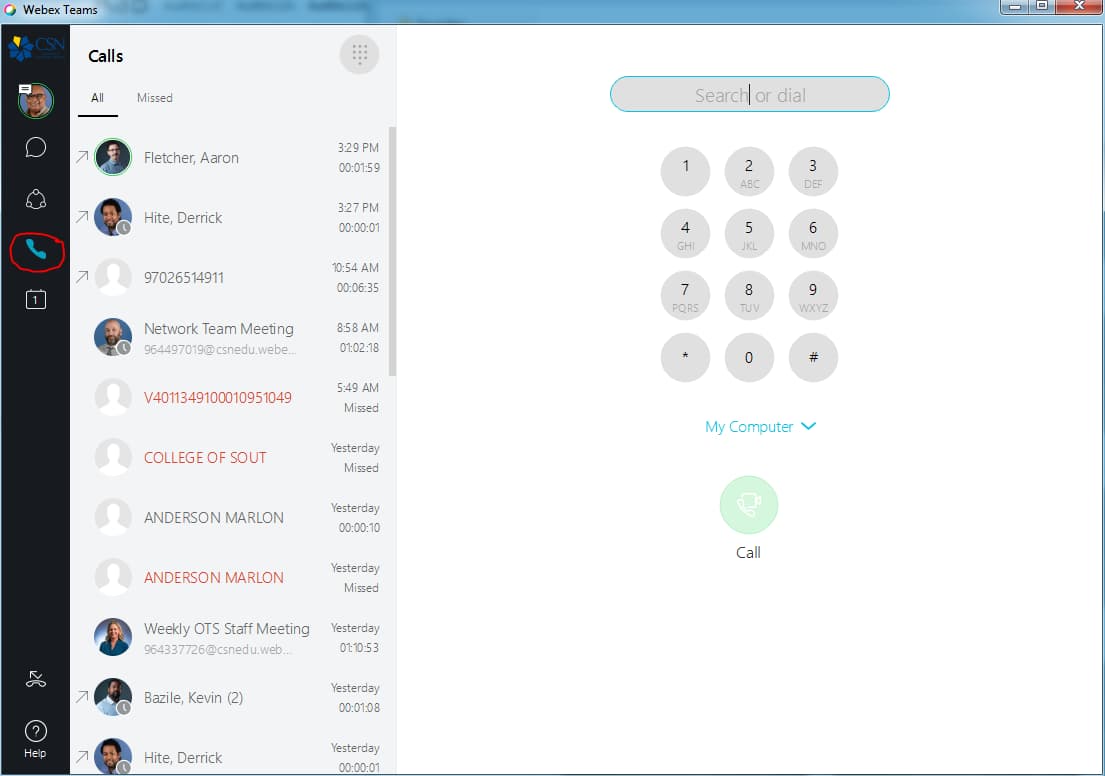
Use the keypad to dial the number or move the mouse pointer over the numbers on the keypad and then left click on the number. Example: (702)XXX-XXXX. (No need to dial 9). After the number has been entered hover over the green call button and left click to initiate the call.

In Call Options: During an active call click the "…" icon. To access in call options. The options are: Hold, Transfer, Add a person, and Dial Pad.

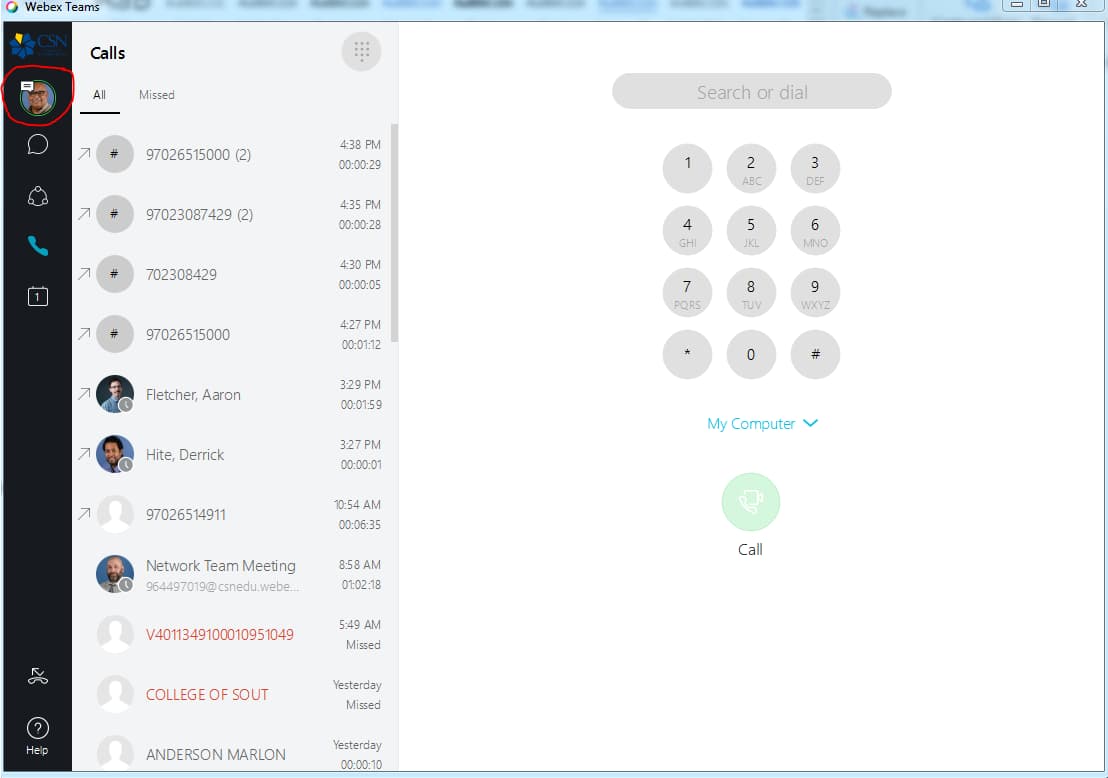
Click on the user icon to access the user menu.
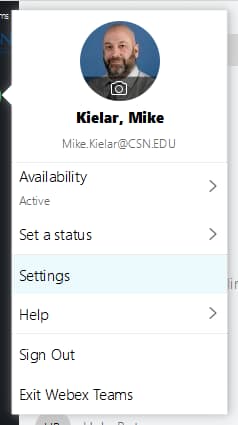
A menu appears with the following options: Availability, Status, Settings, Help, Sign Out, and Exit Webex Teams. Select Settings from this menu.
Select the Calls option.
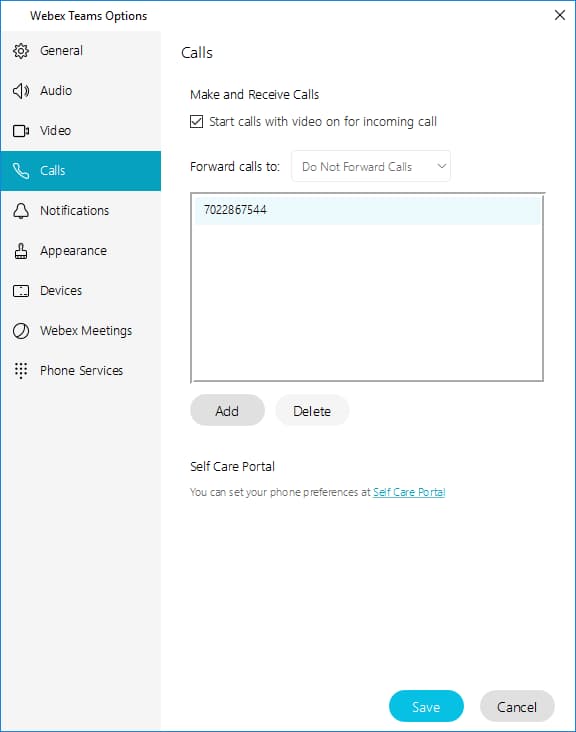
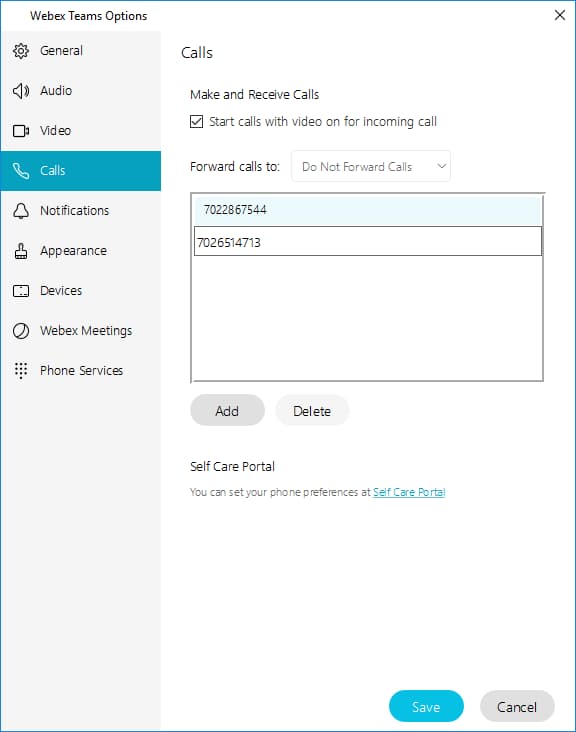
If the number that you want to forward to is not listed in the box, click the Add button. Then enter the 10-digit phone number that you want to forward your calls to. This number will be saved to your user profile. If you don’t need to forward calls now you can click Save. (To forward calls later, proceed to Optional Call Forwarding below)
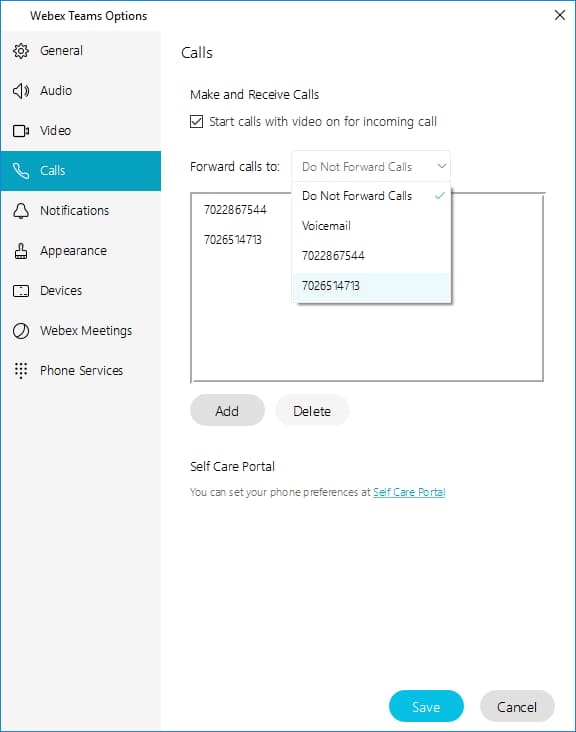
If you want to forward calls now you can click the Forward calls to: drop-down menu. The number you just added will appear as an option in the menu. Select the number you added, then click the Save button.
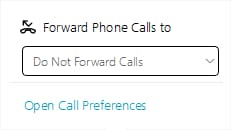
Click on the Phone and Forwarding Settings icon from the main screen.
You will be prompted with this drop-down box.
Select the drop down menu and then select either the Voicemail option or the number that you want to forward your soft phone to. (Screen shot may not show all numbers that were previously saved)
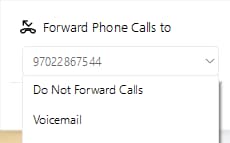
Your calls will now be forwarded to the option that you chose. The system may append a “9” to your number, but as a reminder, you do not have to enter a "9" when manually dialing a number. Also note that the Phone and Forwarding Settings icon is now green.
Mac Users
Cisco Webex Teams Mac Installation
This document is a user’s guide to installing and working the Cisco WebEx Teams application. It includes information on how to configure and utilize the built in soft phone services.
If the Cisco WebEx Teams software is not already installed on your laptop, download the application from the following link: https://www.webex.com/downloads.html/

If using Safari or Firefox browser: Find the file in your “downloads” folder. Double-Click on the file to start the install process. If using the Google Chrome browser: the install file will appear at the bottom left hand side of your web page. You can double-click the install file to begin the install.

Drag and drop the Webex Teams icon into your Applications folder.

Click on the Open button.

Click agree on the End User License Agreement screen.

Enter your CSN email address.
You will be redirected to the GoCSN login page. Enter Your Username: <FirstName.LastName> and Password: <Enter password>.
The application client install is complete. The app will open. You can start a basic user tutorial clicking Show Me Around or click Skip here.
Click the highlighted phone icon to open the call enable feature. Notice the Phone and Forwarding Settings icon is yellow here. (That means your phone services are not yet complete)

A login popup screen will appear.
Enter your CSN credentials Username: FirstName.LastName Password: (AD password). Do not press enter. Click on the Sign in button.
Click OK in the dialogue box

You have now completed your phone services setup and the Phone and Forwarding Settings icon is white.

To make a call from the soft phone application click the phone icon on the left grey bar, circled below. A phone dial pad will open.
To make a call use the mouse. Hover over the digit and click the mouse. Or use the number keys on your keyboard to enter the number. After entering the 10 digit number click on the call button. Note: The system will add the 9 for local calls as well as the 91 for long distance calls.

In Call Options: During an active call click the "…" icon. To access in call options. The options are: Hold, Transfer, Add a person, and Dial Pad.
Click on the user icon to access the user menu.
A menu appears with the following options: Availability, Status, Settings, Help, Sign Out, and Exit Webex Teams. Select Settings from this menu.
Select the Calls option.
If the number that you want to forward to is not listed in the box, click the Add button. Then enter the 10-digit phone number that you want to forward your calls to. This number will be saved to your user profile. If you don’t need to forward calls now you can click Save. (To forward calls later, proceed to Optional Call Forwarding below)
If you want to forward calls now you can click the Forward calls to: drop-down menu. The number you just added will appear as an option in the menu. Select the number you added, then click the Save button.
Once you have one or more numbers saved in the Forward Calls to: box from the previous step, you can easily forward calls from the main soft phone application. Follow these steps to do so:
Click on the Phone and Forwarding Settings icon from the main screen.
You will be prompted with this drop-down box.
Select the drop down menu and then select either the Voicemail option or the number that you want to forward your soft phone to. (Screen shot may not show all numbers that were previously saved)
Your calls will now be forwarded to the option that you chose. The system may append a “9” to your number, but as a reminder, you do not have to enter a "9" when manually dialing a number. Also note that the Phone and Forwarding Settings icon is now green.
Android Users
Cisco Webex Teams Android Installation
This document is a user’s guide to installing and working the Cisco WebEx Teams application on Android cell phones and tablets. It includes information on how to configure and utilize the built in soft phone services.
Note: Call forwarding is not available on mobile devices.
In the Google Playstore search field enter: cisco webex teams mobile app
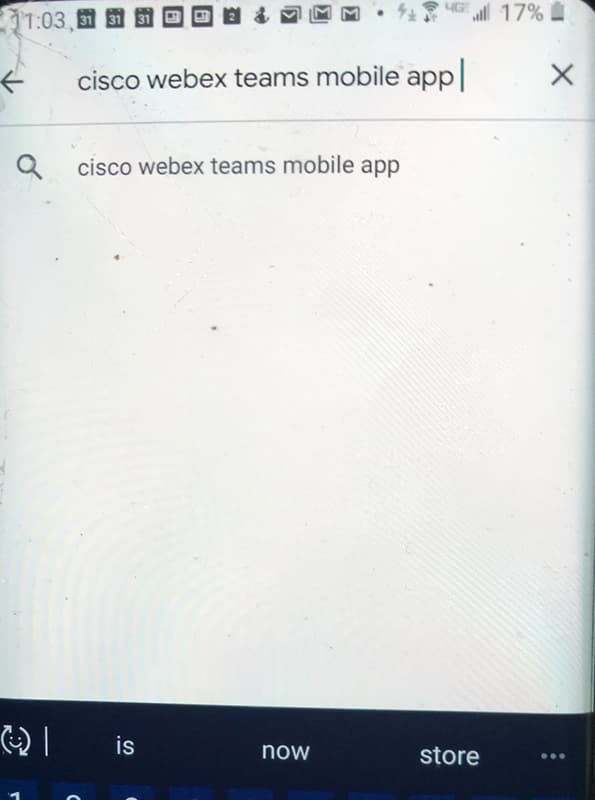
Press on the Cisco Webex Teams link to select the application. Note that Cisco Webex Meetings is a different application.

Press the Install button. This will install the application on your Android device.

Press the Open button to start the application now or find and click on the Cisco Webex Teams icon later.

Press the Start button to continue starting the application.

Enter your CSN email address <Contact Us> and then press the Next button.

Enter your Username: <FirstName.LastName> and Password: <AD password>, then press Log In.

On the Permissions Required popup screen select Enable Access.

Click on the user icon at the top left to access the Settings screen, then select Phone Services as seen below.

A login popup screen will appear. Enter you CSN credentials Username: <FirstName.LastName> and Password: <AD password>. Do not press enter on your keyboard. Press the SIGN IN button.

Press OK in the dialogue box.

Incoming Calls option: Slide the button to the on position.

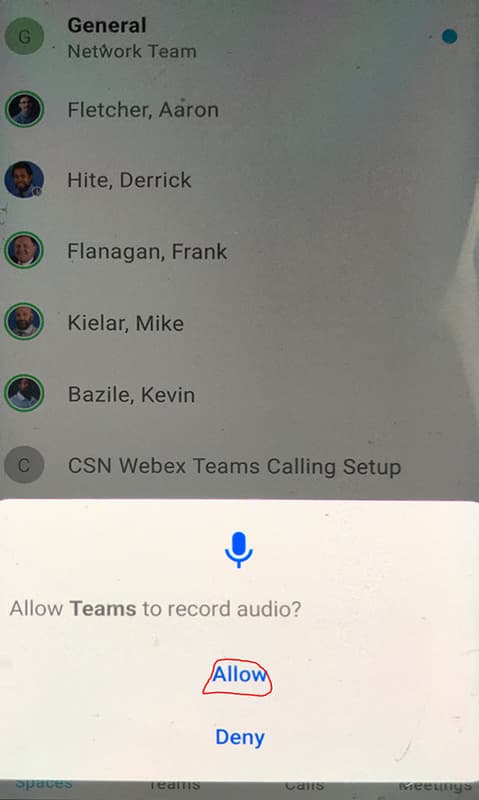
You must select Allow so that the Webex Teams application can use your phone’s microphone.
You must select Allow so that the Webex Teams application can make and manage phone calls.

You must select Allow so that the Teams application can access pictures and use your phones camera for video calls.
The install is now complete.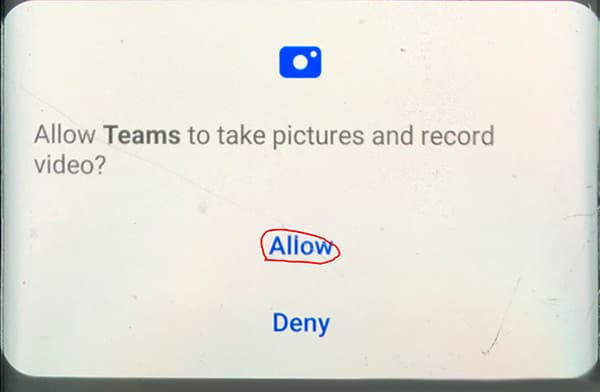
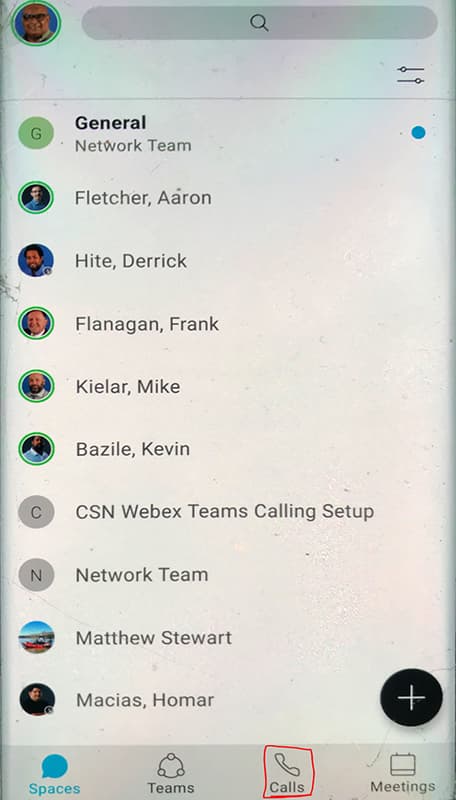
To make a call press the Calls icon on the bottom row of the screen. A phone dial pad will open.
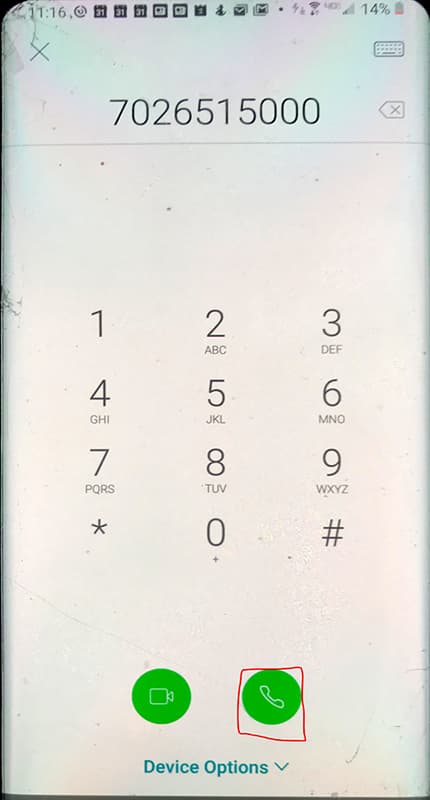
From the phone dial pad you can use the number keys on your keyboard to enter the number. After entering the 10 digit number click on the phone icon button to start your call. Note: The system will add the 9 for local calls as well as the 91 for long distance calls.
Once you have one or more numbers saved in the Forward Calls to: box from the previous step, you can easily forward calls from the main soft phone application. Follow these steps to do so:
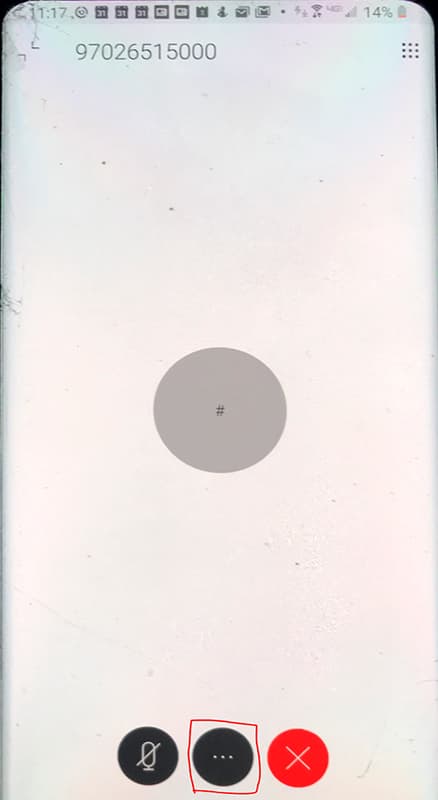
During an active call press the "…" icon button. To access in call options.
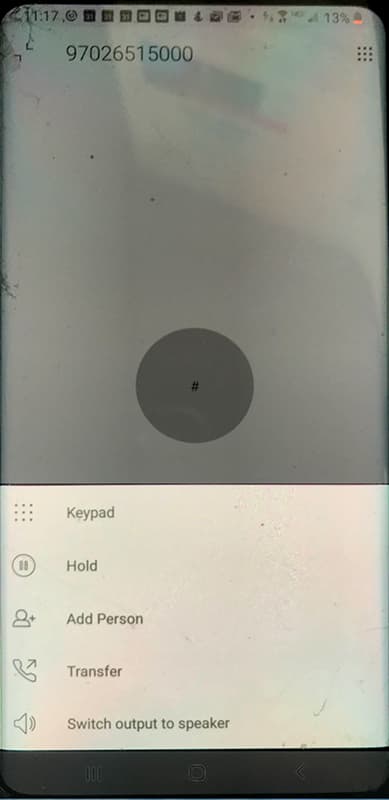
The options are: Keypad, Hold, Add person, Transfer, and Switch output to speaker.
iOS Users
Cisco Webex Teams Apple iOS Installation
This document is a user’s guide to installing and working the Cisco WebEx Teams application on apple iOS cell phones and tablets. It includes information on how to configure and utilize the built in soft phone services.
Note: Call forwarding is not available on mobile devices.
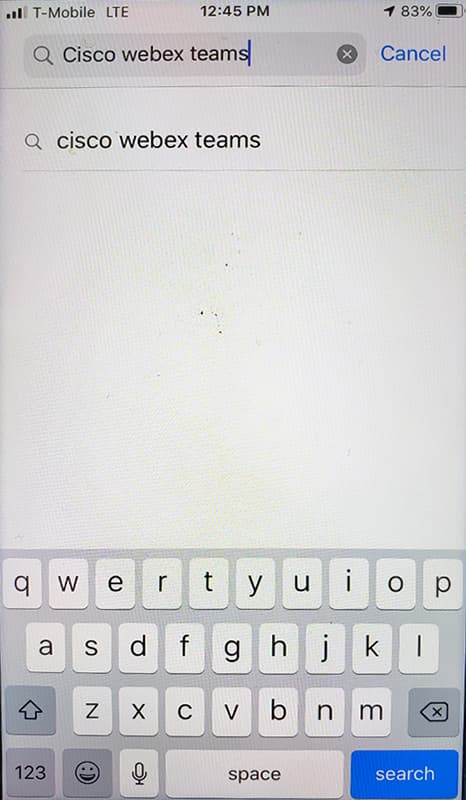
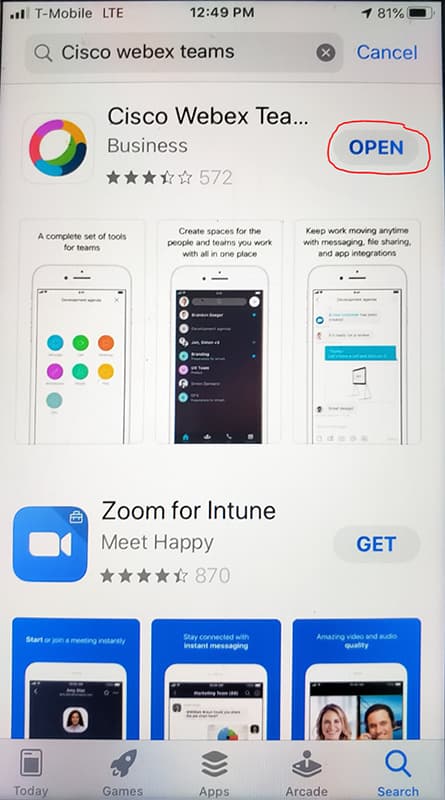
In the App Store in the search field enter: cisco webex teams
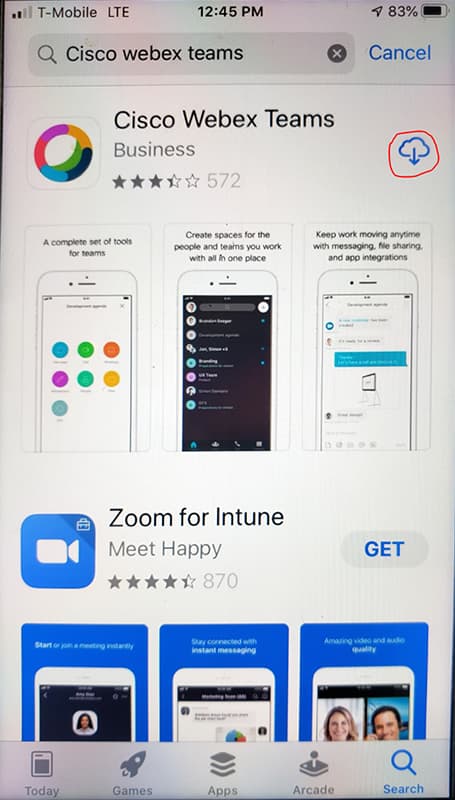
Press on the Download icon link to download the application.
Press the OPEN button to start the application now or find and click on the Cisco Webex Teams icon later.
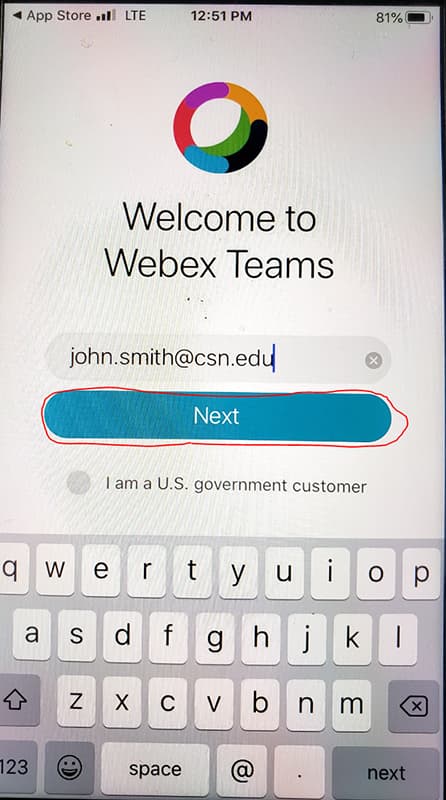
Press the Start button to continue starting the application.
Enter your CSN email address and then press the Next button.
Enter your Username: <FirstName.LastName> and Password: <AD password>, then press Log In.
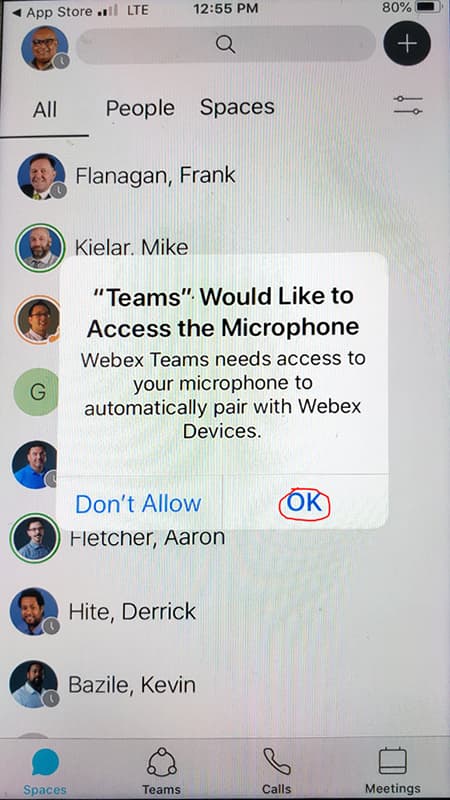
You must select OK so that the Webex Teams application can use your phone's microphone.
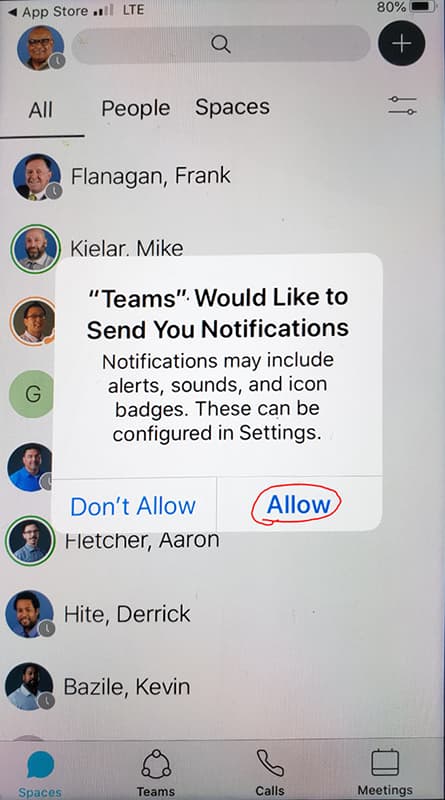
You must select Allow so that the Webex Teams application can send notifications to your phone.
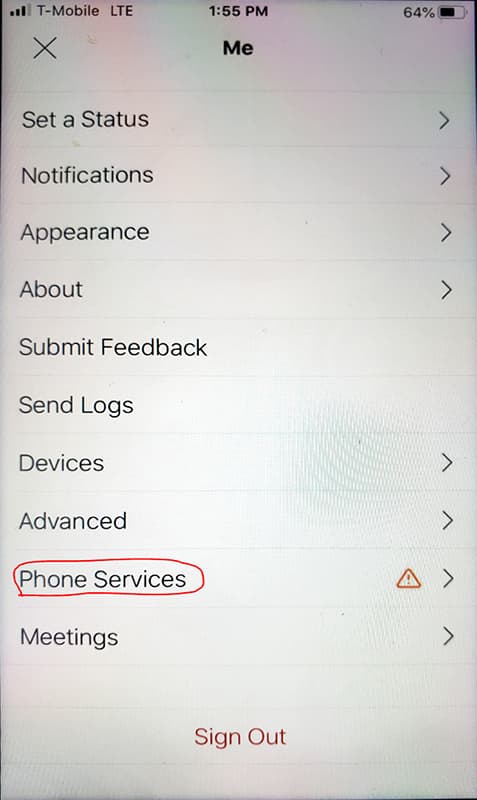
Press on the user icon at the top left to access the Settings screen.

On the Settings screen press the Phone Services button.
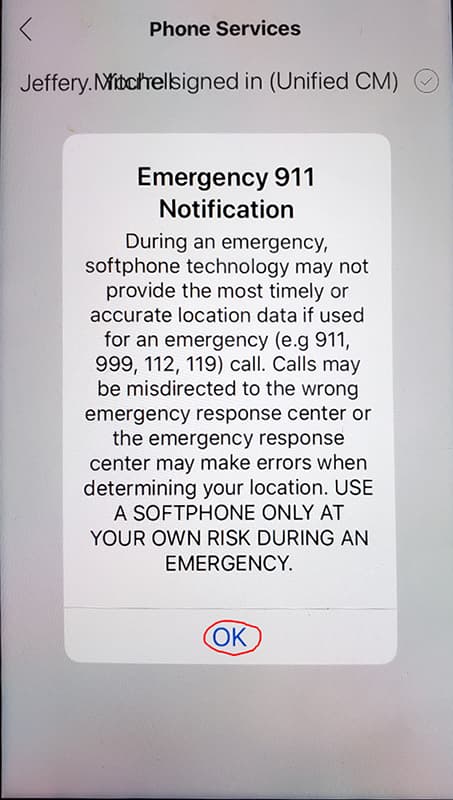
A login popup screen will appear. Enter you CSN credentials Username: <FirstName.LastName> and Password: <AD password>. Do not press enter. Press the Sign In button yet.

Press OK in the dialogue box. The install is now complete.
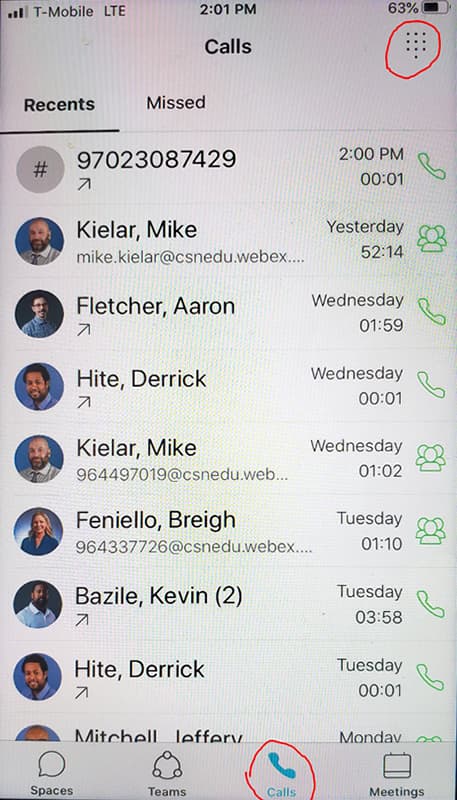
To make a call press the Calls icon on the bottom row of the screen. Then press the dial pad icon in the top right corner of the screen to bring up the dial pad.
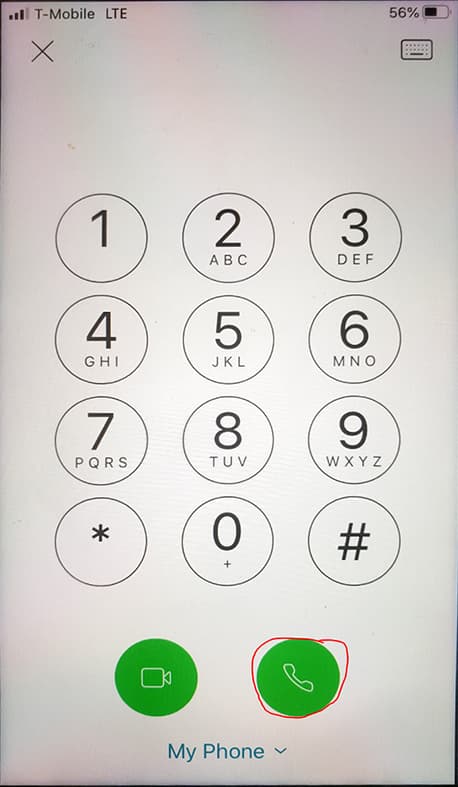
From the phone dial pad you can use the number keys on your keyboard to enter the number. After entering the 10 digit number click on the phone icon button to start your call. Note: The system will add the 9 for local calls as well as the 91 for long distance calls.
Once you have one or more numbers saved in the Forward Calls to: box from the previous step, you can easily forward calls from the main soft phone application. Follow these steps to do so:
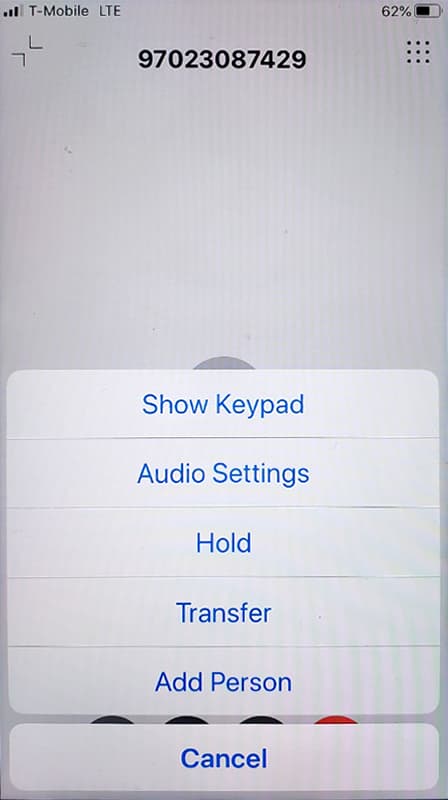
During an active call press the "…" icon button. To access in call options.
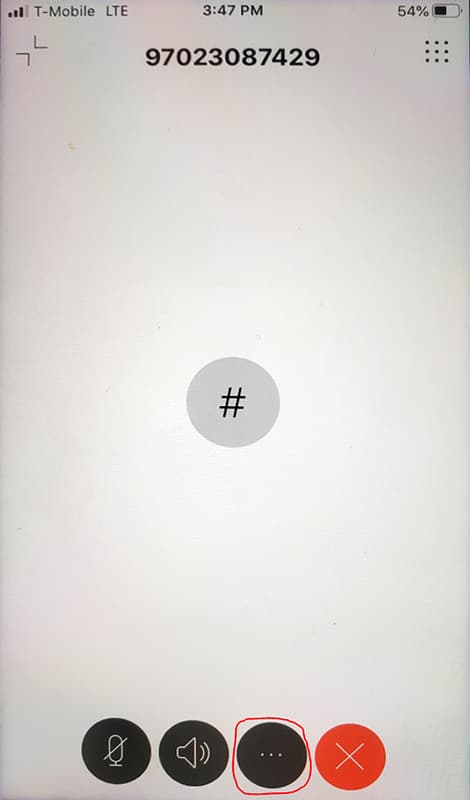
The options are: Show Keypad, Audio Settings, Hold, Transfer, and Add person.